
I want to show you today my top 3 GoPro mountain bike mounts I use when I’m enjoying the trails on most weekends. Mountain biking is one of my favorite outdoor activities I enjoy doing regularly.
The adrenaline rush it gives you is simply amazing. And what’s better than catching these great moments with my GoPro?

In this article, I will also explain the advantages and disadvantages of each mount, what is the expected PoV and which is my favorite mount. Each mount will give you a unique and different shooting angle that you can combine later to create an awesome video.
Enough Talking, Let me Show you Some GoPro Bike Mount Ideas!
The Low Angle – GoPro Handlebar/Seatpost Mount
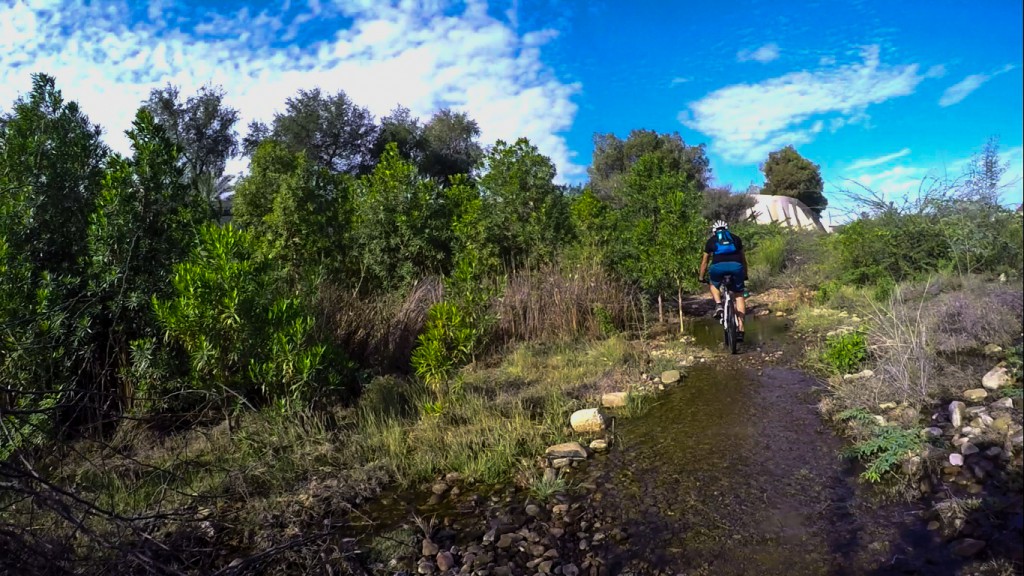
The GoPro Seatpost mount is an essential accessory when it comes to mountain biking. It catches all the action from a bicycle handlebar perspective that’s happening in front of you. This mount attaches to your handlebar and has a protective liner made of rubber in order to protect your bicycle handlebar from marring and enhances stability when you’re in action!

While attached on your handlebar, you can also face the camera towards you if you want to take a video of yourself which can be nice for later editing, at least this is what I do when I’m cycling as it’s always nice to catch videos from different angles, it looks more PRO 🙂
You might notice that the camera is vibrating when using this mount but then if you watch the playback, you will notice that the video will look really good. However, the audio wasn’t the best since the constant vibration can cause an annoying buzzing sound, but I know that most people would replace the recorded audio with a music track or commentary.
Another use for this mount is to attach it to your seat post. This way you can catch videos of your colleagues cycling behind you, the more different angles you have, the nicer the video will come out of the editing.
The Mid angle – GoPro Chest Mount
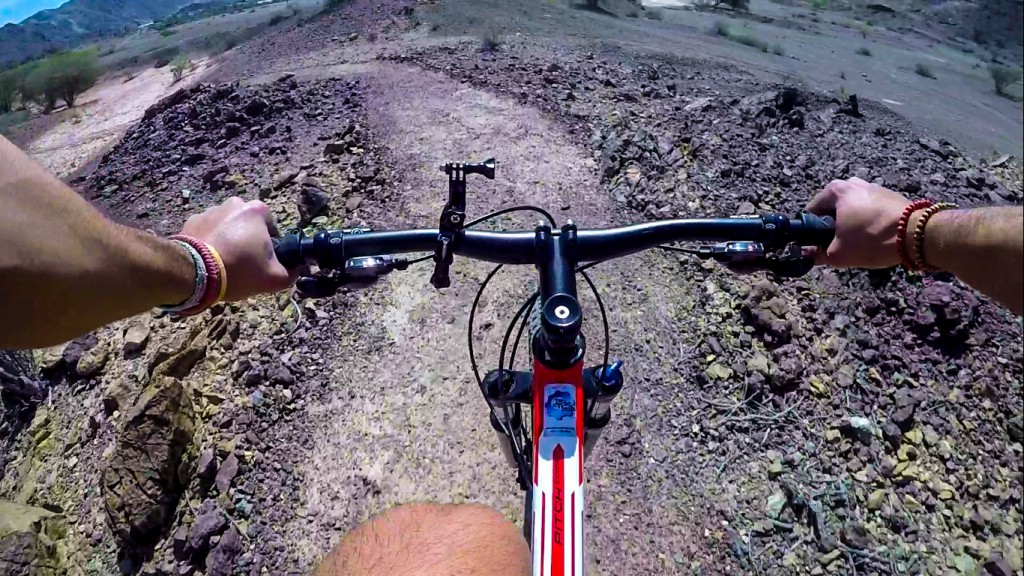
The GoPro Chest Mount Harness is my preferred mount because it shoots the best angle in my opinion. It shows you your arms and handlebar. The chest mount can really be used for most activities and it lets you see “lower than the head” view of the action, It’s a must-have mount. I use it for hiking, kitesurfing, cycling and many other activities.

When using the chest mount, I noticed that the GoPro can see more ground detail and depth perception, and since it captured my arm movements on the handlebar and gear, it really showed the technique I was using to handle the rough trail. I noticed a better sense of speed too.
All in all, it made my videos look more interesting to watch. A good tip when using the chest mount is to make sure the camera is tilted up or else you will only catch your arms and knees because when biking, your chest will be at an angle with the ground.
This mount remains the best when mountain biking as the video looks the most realistic and it shows most of the action that other mounts can’t achieve.
The High Angle – GoPro Helmet Mount
The GoPro helmet front mount captures the action from a high angle. The mount attaches to the helmet using adhesive bonds that are included with the mount. These bonds are made by 3M and they are very strong. But from my personal experience, I advise you to glue the mount on the helmet at least 1-2 days before your event for it to set in place.

I have a mount on my ski helmet for 2 years and it’s still strong. Do that and be sure that your camera will never fall off during rides. Another tip would be to use a tether for extra safety.
The mount takes a headlamp-like position and captures all the action facing forward. But unlike the chest mount, the helmet mount doesn’t catch your arms or handlebar. It made my videos look slower, no depth-perception, and made the surface look flat. I really looked like a noob when I watched the playback, it gave the perception that the trail is very easy and flat unlike what it was in reality.
The advantage of the helmet mount is that it turns when you move your head. This can be helpful if you’re with a group of friends that are slower than you, that way you can stop, turn your head and catch them with your camera. I sometimes use both mounts chest and head. After all, it’s a personal preference.
Another mount that goes on the helmet is the side mount, this one glues to the side of your helmet. It gives a better PoV than the front mount and can show part of your helmet as well as part of your arms and handlebar. You need to experiment with this and check which angle suits your requirements. I use this one instead of the front mount because I feel that it gives more details but at the same time a little more vibrations.
To Conclude
As I said earlier, I use both chest and helmet mounts. The chest mount gave me a better sense of action, depth-perception, and a better point of view when compared with the helmet mount. The seat post/handlebar mount can be optional unless you want to have a video with different angles which I personally prefer. You can mount your GoPro basically anywhere you want, even on the bicycle frame pipes.
A good tip is to set your GoPro to take photos every 5 seconds, it would be really nice and it saves you the effort to go through all your videos in order to take screenshots. Go out there and have fun!
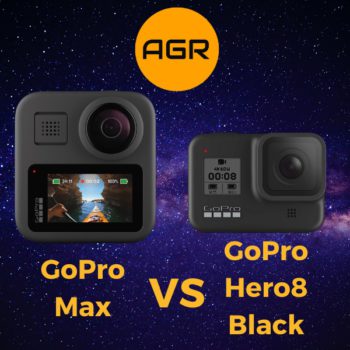
Do you want to get a GoPro but confused which one to buy? Check my GoPro comparison chart for a detailed explanation and comparison between the three Hero4 cameras.
There you have it, ladies and gentlemen!
What do you think of my top 3 GoPro mountain bike mounts? Let me know by leaving a comment in the comments section below 🙂

September 28, 2016 at 4:56 pm
Hi Michel, I don’t go mountain biking but I love to wake board. I think the chest mount would provide me with some great footage. I think the cameras are waterproof right? I have yet to purchase a GoPro but when I do I think I definitely need to buy one of these mounts to get the most out of it. Thanks for the great info!
September 29, 2016 at 12:47 pm
Hey Jeremy, definitely the GoPro chest mount is one of the most used accessories in my opinion. I personally use it for different activities from mountain biking to hiking and kitesurfing. The Pov of the chest mount just fits for most activities. But yeah if you wake board then the chest mount would be your best option!
March 28, 2016 at 5:42 pm
Great post. I like how you compared the different mounts and explained what each one is more suited for. I also like the idea of setting the GoPro to take photos every 5 seconds, I think that’s a really good suggestion. Thanks!
March 29, 2016 at 3:23 pm
Thanks Stephanie! exactly, each mount can give a different point of view/shooting angle and that can be really awesome during video editing. I always use the snapshots function so I don’t have to go through every video in order to extract still shots.
Cheers!
March 28, 2016 at 4:37 pm
Hey Michael,
Great Review on the GoPro Mountain Bike Mounts! You indeed need to have a good quality mount before you want to instant the Gopro as mountain biking is very bumpy. You know although I have never tried mountain biking before but I would love to try it one day. Unfortunately, I come from a country where there is no mountains. Which country do you think is the best for mountain biking?
Samuel
March 29, 2016 at 3:20 pm
Hi Samuel
Indeed, mountain biking is very bumpy but when you’re using the proper mounts, you minimize the vibrations on your GoPro. It also depends on the mount location, I have noticed that the camera was vibrating when mounted on the handlebar but it looked fine on playback. Mountain biking can be done on small hills as well, you don’t really need mountains. Best place for me would be Switzerland.
Cheers!